
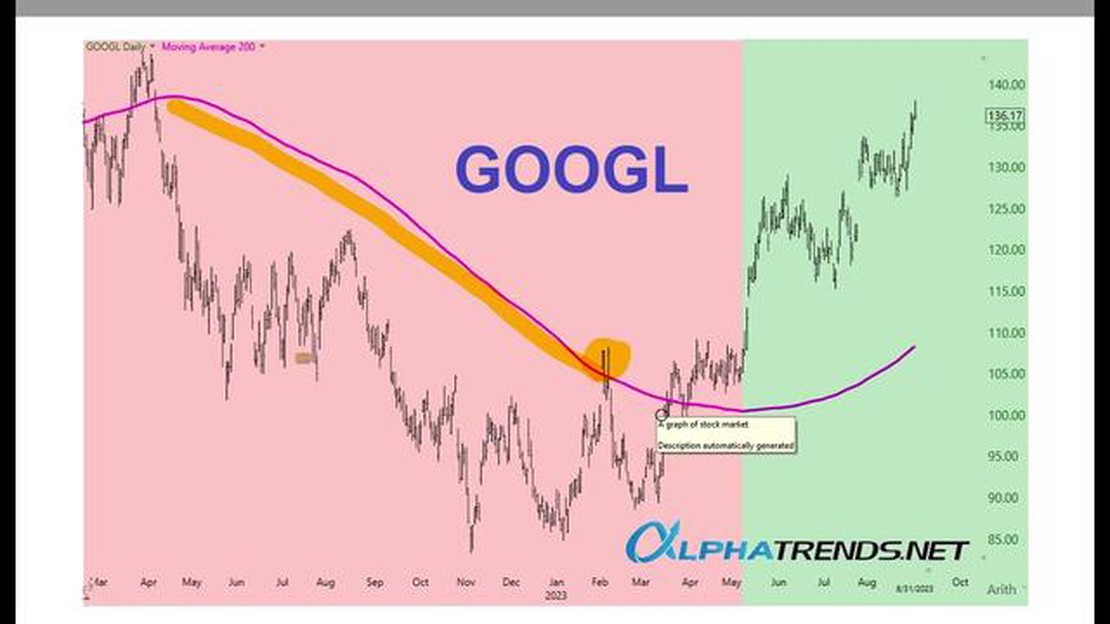

How to effectively utilize the 200-day moving average in trading
How to Utilize the 200 Day Moving Average Utilizing technical analysis is an important aspect of successful trading, and one popular tool is the …
Read Article
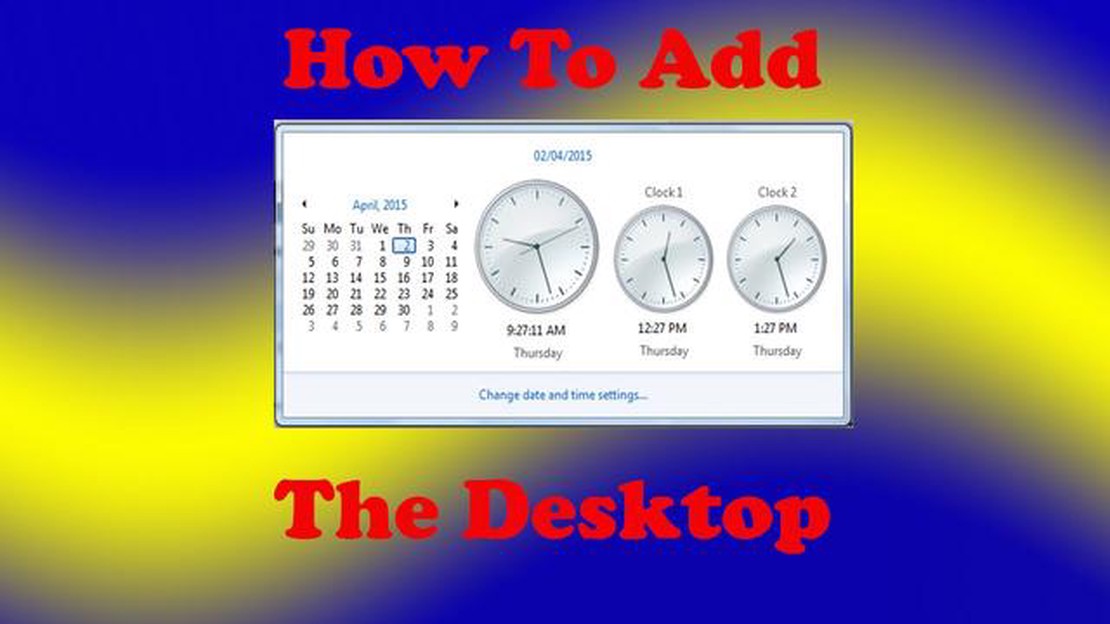
Keeping track of time across different time zones can be a challenge, especially if you have friends or colleagues living in different parts of the world. One way to conveniently manage this is by adding a world clock to your desktop on Windows 7. With a world clock, you can easily keep track of multiple time zones without having to calculate the time difference in your head every time.
Adding a world clock to your desktop is a simple process that can be done in just a few steps. First, you need to access the “Clock and Region” settings on your Windows 7 computer. This can be done by clicking on the Windows “Start” button and selecting “Control Panel”. In the Control Panel, find the “Clock, Language, and Region” category and click on it.
Once you are in the “Clock, Language, and Region” settings, look for the “Date and Time” option and click on it. In the Date and Time settings window, select the “Additional Clocks” tab. This tab allows you to add additional clocks to your desktop. Click on the checkbox next to “Show this clock”, and then choose a time zone from the drop-down menu. You can also give the clock a name for easy identification. Once you have selected the desired time zone and entered a name for the clock, click on “Apply” and then “OK” to save the changes.
After you have added the world clock to your desktop, you will be able to see the current time in the selected time zone by clicking on the clock icon in the taskbar. A pop-up window will appear, displaying the time and date in the added time zone. This makes it easy to keep track of time in different parts of the world without having to open a separate clock or use an online time converter.
Adding a world clock to your desktop on Windows 7 is a simple way to stay organized and on top of time differences when dealing with international contacts. Whether you are a frequent traveler or simply need to coordinate with people in different time zones, having a world clock on your desktop can greatly simplify the process.
So, why not give it a try? Follow these steps and start enjoying the convenience of a world clock on your desktop today!
Adding a world clock to your desktop in Windows 7 can be a useful and convenient way to keep track of time in different parts of the world. By following these simple steps, you can easily add a world clock to your Windows 7 desktop.
Step 1: Right-click on an empty space on your desktop and select “Gadgets” from the context menu.

Step 2: In the Gadgets window, double-click on the “Clock” gadget.
Step 3: After the clock gadget appears on your desktop, right-click on it and select “Add” from the menu.
Step 4: In the “Add Gadgets” window, click on the “World Clock” gadget and then click “Add” to add it to your desktop.
Step 5: The world clock gadget will now appear on your desktop, displaying the current time and date for your selected locations. To add additional locations, right-click on the world clock gadget, select “Options” from the menu, and click on “Add” to choose new locations.
Step 6: To customize the appearance of the world clock, right-click on the gadget, select “Options,” and then choose your preferred settings, such as the number of clocks to display, the format of the time and date, and the style of the clock face.
Read Also: Explaining the Difference Equation for the Moving Average
Step 7: To remove the world clock gadget from your desktop, right-click on it and select “Close” from the menu.
By following these straightforward steps, you can easily add a world clock to your Windows 7 desktop and stay informed about the time in different parts of the globe.
Read Also: Exploring the Montreal Stock Exchange: What You Need to Know
Note: The clock gadget feature is only available in the Windows 7 operating system and can be accessed through the desktop gadgets feature.
Adding a world clock to your Windows 7 desktop can be incredibly beneficial for a variety of reasons. Whether you frequently collaborate with international colleagues, have friends or family living in different time zones, or simply enjoy keeping track of the time in various parts of the world, a world clock provides a convenient and efficient way to stay up to date.
One of the main advantages of adding a world clock to your desktop is the ability to easily manage and plan international meetings and events. By having a quick reference of the current time in different locations, you can avoid scheduling conflicts and ensure that you are respecting the time zones of all participants. This can greatly enhance productivity and improve communication between global teams.
Another benefit is the ability to stay connected with friends and family who live in different time zones. With a world clock readily available on your desktop, you can easily see the current time in their location and avoid accidentally contacting them during unsuitable hours. It can also help you plan and coordinate activities, such as making international calls or scheduling video chats, without having to calculate time differences manually.
Additionally, having a world clock on your Windows 7 desktop can broaden your knowledge and awareness of different time zones around the globe. It can serve as a constant reminder of the interconnectedness of our world and the vastness of cultural diversity. It’s a great way to spark curiosity and learn more about different countries and regions, their customs, and their daily routines.

By adding a world clock to your Windows 7 desktop, you can save time and effort when it comes to stayi
ng aware of global time differences, managing international commitments, and staying connected with people across the world. It’s a simple yet powerful tool that can greatly enhance your productivity, communication, and global awareness.
Yes, you can add a world clock to your desktop on Windows 7.
To add a world clock to your desktop on Windows 7, you need to right-click on the desktop, select “Gadgets” from the context menu, and then choose the “Clock” gadget. Once the clock gadget appears on your desktop, you can right-click on it and select “Add Gadgets” to add multiple clocks for different time zones.
Adding a world clock to your desktop allows you to easily view the time in different time zones without the need to manually calculate the time difference. This can be particularly useful when you need to coordinate with people in different parts of the world or when you are traveling.
Yes, you can customize the appearance of the world clock on your desktop. By right-clicking on the clock gadget and selecting “Options,” you can choose different clock designs, adjust the size and opacity of the clock, and even customize the date and time format.
Yes, it is possible to add multiple clocks for different time zones. After adding the initial clock gadget to your desktop, you can right-click on it and select “Add Gadgets” to add additional clocks. Each clock can be set to a different time zone, allowing you to easily keep track of the time in different parts of the world.

How to Utilize the 200 Day Moving Average Utilizing technical analysis is an important aspect of successful trading, and one popular tool is the …
Read Article
How Long Does iRemit Transfer Take? When using iRemit to transfer money, one of the most common questions asked is how long it takes for the transfer …
Read Article
Ownership of NEPSE: Exploring the Key Stakeholders The Nepal Stock Exchange (NEPSE) is the primary stock exchange in Nepal, where investors can buy …
Read Article
Forex Card vs Debit Card: Which is the Better Option? When it comes to managing money while traveling abroad, there are several options available, …
Read Article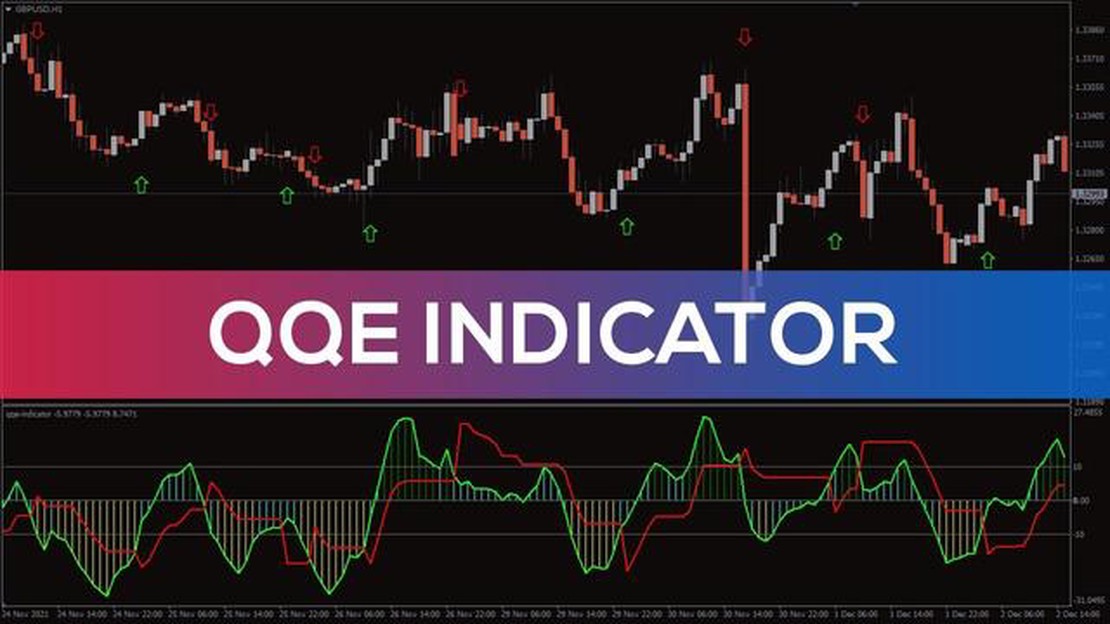
Understanding the QQE Indicator in MT4: A Comprehensive Guide When it comes to successful trading in the foreign exchange market, having the right …
Read Article
What is a moving average trade? When it comes to trading in the financial markets, understanding various technical indicators is crucial for making …
Read Article

