
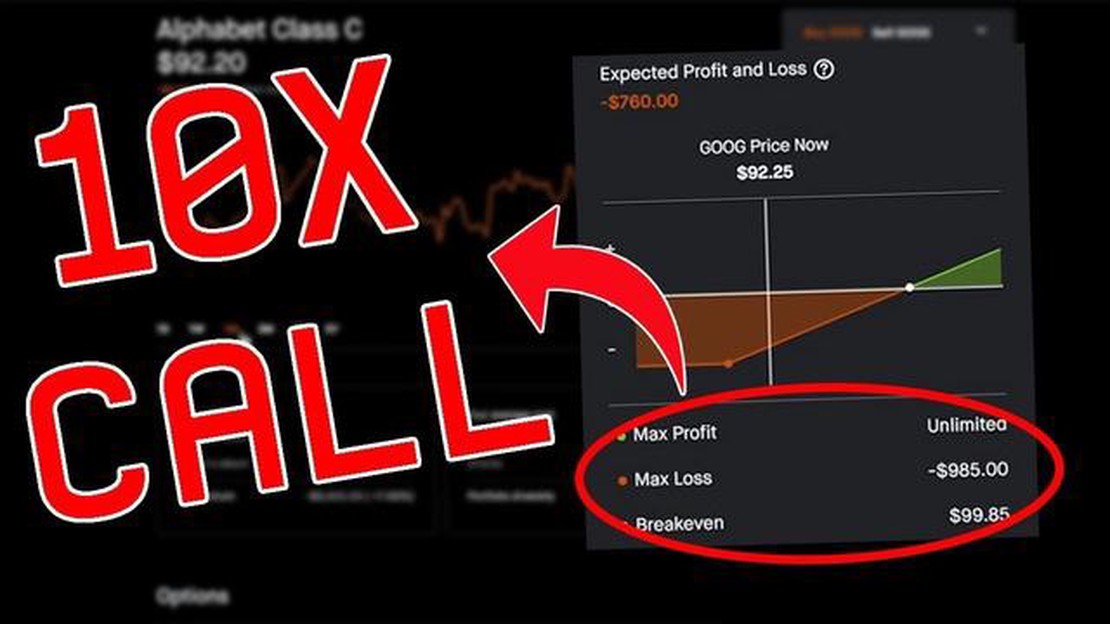

Is it wise to trade options before earnings?
Trading Options Before Earnings: Pros and Cons Earnings season is a highly anticipated time for both investors and traders. It is during this period …
Read Article

LabVIEW is a powerful programming language commonly used for data acquisition and control systems. One common task in LabVIEW is resetting a waveform, which can be useful when conducting experiments or analyzing data. In this article, we will explore the simple steps and tips to reset a waveform in LabVIEW.
To reset a waveform in LabVIEW, you can use the “Reset Array” function. This function allows you to remove all the elements from an array and initialize it with default values. By using this function, you can easily reset a waveform to its initial state, making it ready for further analysis or data acquisition.
Before resetting a waveform, it is important to understand the data structure of the waveform in LabVIEW. A waveform consists of an array of elements, where each element represents a single data point in the waveform. Each element typically has two parts: the timestamp, which indicates the time at which the data point was acquired, and the data value itself.
To reset a waveform, you can follow these simple steps:
In addition to these steps, here are some tips to keep in mind when resetting a waveform in LabVIEW:
Resetting a waveform in LabVIEW is a simple yet important task for data acquisition and analysis. By following the steps and tips outlined in this article, you can easily reset a waveform and prepare it for further processing or experimentation.
In LabVIEW, resetting a waveform is an essential step in data acquisition and processing. A waveform represents a sequence of data points that can be used to analyze and display signals over time.
Resetting a waveform allows you to clear the previous data points and start fresh, ensuring accurate and reliable measurements. It is crucial to reset a waveform before acquiring new data to eliminate any potential interference or artifacts from previous measurements.
Read Also: Explore the Hidden Wonders Inside the One World Trade Center
There are several reasons why resetting a waveform is important:
| 1. Eliminating Distortions: | Resetting a waveform removes any distortions or noise that may have been introduced during previous measurements. This ensures that the data being acquired is clean and accurate, leading to more reliable analysis and interpretation. |
| 2. Starting from a Known State: | Resetting a waveform allows you to start from a known state, where all the data points are at their initial values. This is especially important when capturing dynamic signals or time-varying phenomena, as it ensures that the measurements are not influenced by any previous state. |
| 3. Enhancing Data Integrity: | By resetting a waveform, you can improve the integrity of your data. This is particularly important when dealing with high-frequency signals or fast-changing phenomena, where even small inconsistencies can have a significant impact on the analysis results. |
| 4. Streamlining Data Processing: | Resetting a waveform at the beginning of each measurement cycle simplifies the data processing workflow. It allows you to focus on analyzing the most up-to-date information without the need to filter or remove previous data points manually. |
In conclusion, understanding the importance of resetting a waveform in LabVIEW is key to obtaining accurate and reliable measurements. By resetting the waveform before acquiring new data, you ensure that any previous distortions or noise are eliminated, the data is starting from a known state, the integrity of the data is enhanced, and the data processing workflow is streamlined.
If you are working with waveforms in LabVIEW and need to reset them, follow these simple steps:
Read Also: Understanding Stock Options in India: A Comprehensive Guide
By following these simple steps, you can easily reset a waveform in LabVIEW and continue your data acquisition or analysis with a clean slate.
To reset a waveform in LabVIEW, you can use the “Clear Waveform” function. This function clears all the data in the waveform and resets it to its initial state.
Yes, it is possible to reset a waveform without losing its configuration. You can use the “Initialize to Default” function, which resets the waveform data to its default values while keeping all the configuration settings intact.

Yes, you can reset only a portion of a waveform in LabVIEW. You can use the “Resize Array” function to truncate the waveform data to a specific length, effectively resetting only the portion you want to reset.
In addition to resetting waveforms, LabVIEW offers various functions for manipulating waveforms, such as scaling, filtering, and extracting specific data points. You can use functions like “Scale Waveform”, “Filter Waveform”, and “Array Subset” to perform these operations on waveforms in LabVIEW.
To reset a waveform in LabVIEW, you can use the “Reset Waveform” function. First, you need to create a waveform control or indicator on the front panel. Then, right-click on the waveform control or indicator and select “Create»Property»Value”. Next, wire the “Reset Waveform” function to this property node. Finally, run the VI and use a button or some other event to trigger the “Reset Waveform” function and reset the waveform.

Trading Options Before Earnings: Pros and Cons Earnings season is a highly anticipated time for both investors and traders. It is during this period …
Read Article
How to Read Currency Pairs: A Comprehensive Guide Welcome to the beginner’s guide to understanding currency pairs! If you are new to the world of …
Read Article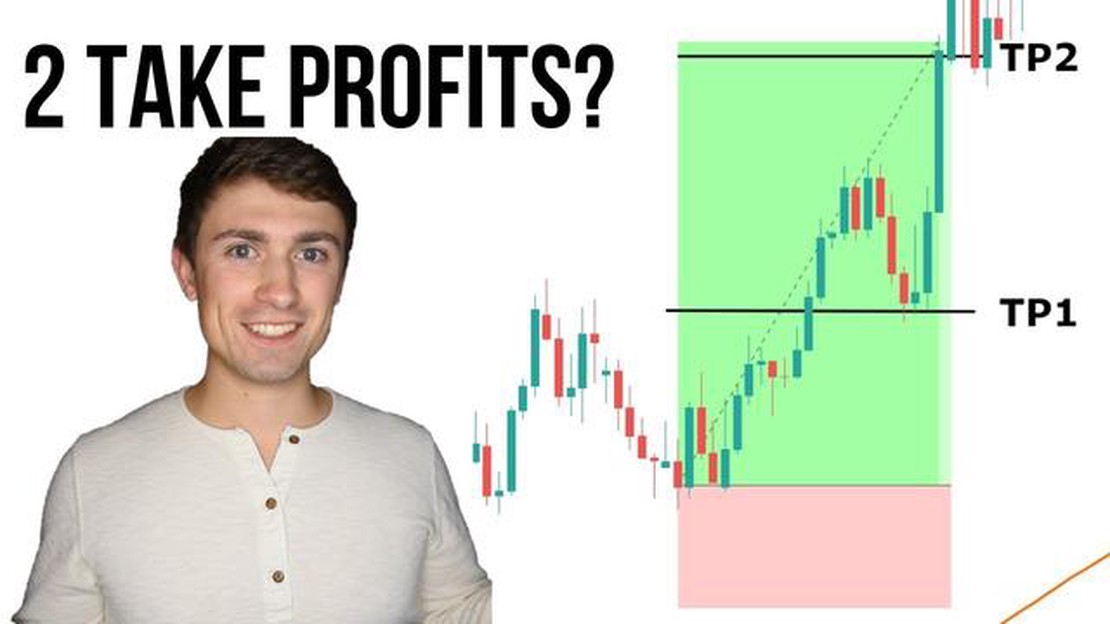
How to Set Multiple Take-Profit Levels in Forex In forex trading, take profit levels play a crucial role in managing your trades and maximizing your …
Read Article
How to Trade USD in India In today’s globalized world, currency exchange has become an essential part of international trade. For businesses or …
Read Article
Can Forex Bots Really Make Money? Forex trading can be a highly lucrative venture for those who are able to effectively navigate the foreign exchange …
Read Article
Understanding 5 3 3 Stochastic Indicator: A Comprehensive Guide When it comes to technical analysis in the world of trading, there are numerous …
Read Article


