


Exness: The Country Broker You Need to Know About
Is Exness a Broker from Which Country? When it comes to forex trading, finding a reliable and trustworthy broker is essential. One broker that has …
Read Article
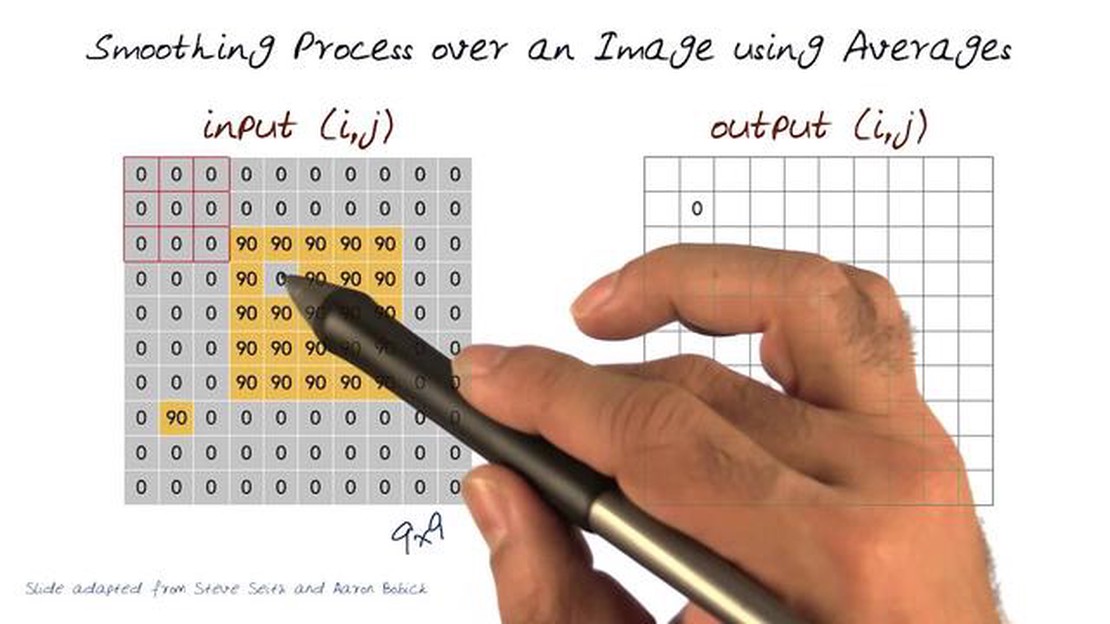
Image averaging is a powerful technique that can enhance the quality of your photos and help you achieve stunning results. Whether you are a professional photographer or a casual hobbyist, understanding how to perform image averaging can take your photography skills to the next level.
In simple terms, image averaging involves combining multiple images of the same scene to reduce noise and improve overall image quality. By taking multiple exposures of the same subject and averaging them together, you can eliminate random variations and achieve a clearer and more detailed image.
There are different methods and software available to perform image averaging, each with its unique advantages and limitations. In this comprehensive guide, we will walk you through the step-by-step process of image averaging and provide you with valuable tips and techniques to ensure optimal results.
From capturing the initial exposures to selecting the best frames for averaging and finally blending them together, we will cover all the essential aspects of image averaging. Whether you are interested in astrophotography, landscape photography, or any other genre, this guide will equip you with the knowledge and skills to attain professional-grade results.
So, if you are ready to elevate your photography game and unlock the true potential of image averaging, let’s dive into this comprehensive guide and discover the secrets to achieving stunning images.
Image averaging is a technique used in digital image processing to reduce noise and improve the overall quality of an image. It involves combining multiple images of the same scene or object to create a single image that represents the average of all the input images.
The principle behind image averaging is based on the statistical concept of the law of large numbers. According to this law, as the number of independent and identically distributed random variables (in this case, pixels) increases, their average tends to converge to a constant value. In other words, by averaging multiple images, the random noise present in each individual image is gradually canceled out, leading to a smoother and less noisy composite image.

To perform image averaging, you need a set of images taken under similar conditions, with the same camera settings and exposure time. These images should ideally contain the same scene or object but with slight variations due to noise.
The process of image averaging involves aligning the input images to compensate for any slight variations in position or rotation. Once aligned, each corresponding pixel in the input images is averaged to calculate the corresponding pixel value in the output image. This pixel-wise averaging is repeated for all pixels in the images, resulting in a single, averaged image.
Image averaging can be particularly useful in situations where the noise level is relatively high, such as in low-light or high-ISO photography. It helps to reduce the random noise and improve the signal-to-noise ratio, resulting in a cleaner and more visually pleasing image.
It is important to note that image averaging is not a magical solution and has its limitations. It works best when the underlying scene or object is static or relatively stationary, as any movement or changes between the input images can introduce artifacts or blurring. Additionally, image averaging may not be suitable for all types of images or applications, such as when preserving fine details or sharpness is crucial.
In conclusion, image averaging is a powerful technique for reducing noise and enhancing image quality. By taking advantage of the statistical properties of multiple images, it allows for the creation of a composite image that is cleaner and more visually appealing. Understanding the principles behind image averaging can help you use this technique effectively in your digital image processing workflow.
Read Also: How to Set Moving Average Indicator in MT4: Step-by-Step Guide
Image averaging is a technique used in image processing to reduce noise and improve image quality. It involves combining multiple images of the same subject to create a single averaged image. Each image in the set is captured under similar conditions, such as exposure time and camera settings, to ensure consistency.
The process of image averaging works by taking the pixel values from corresponding positions in each image and calculating their average. This effectively filters out any random variations or noise present in the individual images, resulting in a sharper and cleaner final image.
Read Also: What are the consequences of selling before T 2?
Image averaging can be particularly beneficial in situations where the signal-to-noise ratio is low, such as low-light photography or scientific imaging. It helps to minimize the impact of noise, which can often appear as random speckles or distortions in the image. By combining multiple images, the noise levels can be reduced, revealing more detail and improving overall image clarity.
Additionally, image averaging can also help to bring out subtle features that may not be visible in a single image. By accumulating the information from multiple frames, any faint details or structures that are consistent across the images can become more prominent and easier to identify.
Overall, image averaging is a powerful technique that can significantly enhance image quality by reducing noise and increasing detail. It is widely used in various fields, including photography, astronomy, microscopy, and medical imaging.
Image averaging is a process of combining multiple images of the same scene to produce a final image with reduced noise and improved image quality. It works by aligning the images and then averaging the pixel values at each location to create a final pixel value.
Image averaging can be useful in cases where the original images have high levels of noise or when you want to improve the overall image quality. It can also be used to create long-exposure-like effects in photography by averaging multiple images of a moving subject.

To perform image averaging, you will need a camera or a device capable of capturing multiple images of the same scene. Additionally, you will need image editing software that supports image alignment and averaging.
The steps involved in performing image averaging are as follows: 1) Capture multiple images of the same scene. 2) Align the images to correct for any minor differences in position or rotation. 3) Average the pixel values at each location in the aligned images to create a final averaged image. 4) Optionally, perform additional post-processing to enhance the final image.
While image averaging can be a powerful technique for reducing noise and improving image quality, there are some limitations and drawbacks to be aware of. One limitation is that it works best when the scene being captured is static or when the moving subjects are consistent across the multiple images. Additionally, image averaging may not be effective if the original images have very low signal-to-noise ratio.
Image averaging can be useful in various scenarios. It helps to reduce noise in images, improve the signal-to-noise ratio, and enhance image quality. Additionally, by averaging multiple images, you can eliminate random artifacts and obtain a more accurate representation of the underlying scene or object.
To perform image averaging, you will need a camera or a device capable of capturing multiple images. In addition, you will need image processing software, such as Adobe Photoshop or ImageJ, to perform the averaging process. It is also recommended to use a stable tripod to keep the camera steady during the image capture process.

Is Exness a Broker from Which Country? When it comes to forex trading, finding a reliable and trustworthy broker is essential. One broker that has …
Read Article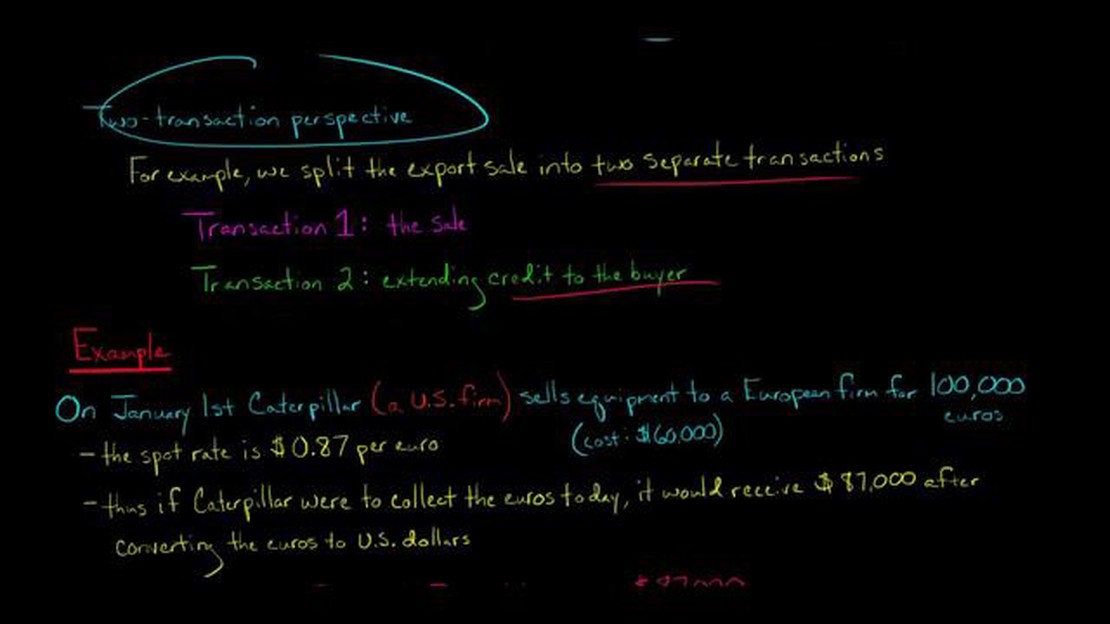
Where to report foreign exchange gain or loss on income statement? Foreign exchange gains or losses can have a significant impact on a company’s …
Read Article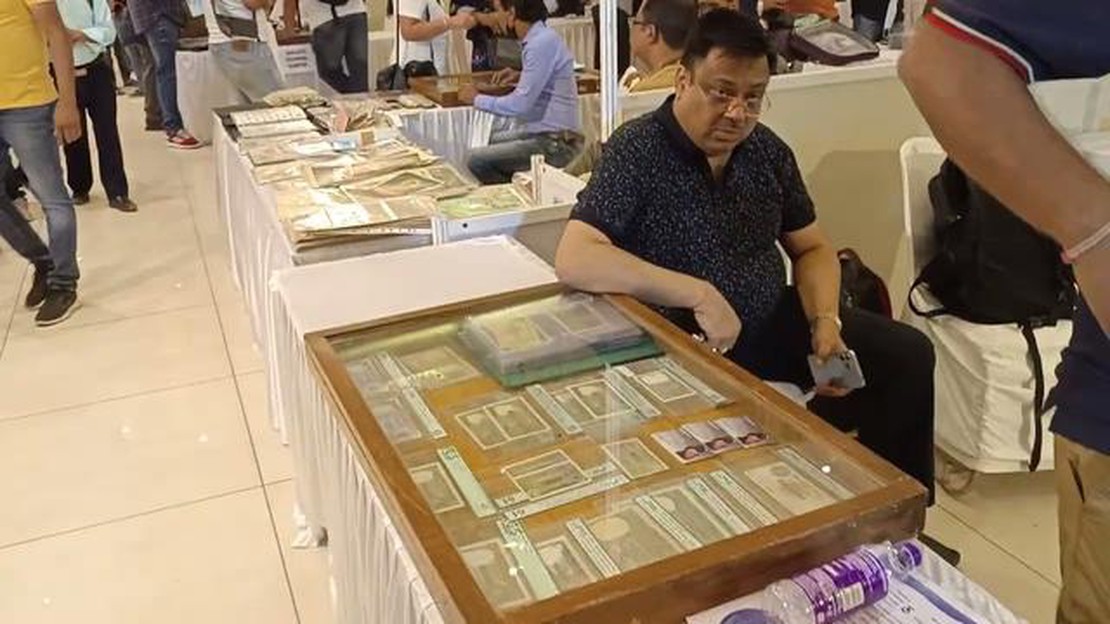
Exhibition in Jaipur in March 2023 Jaipur, the capital city of the vibrant state of Rajasthan in India, is known for its rich cultural heritage, …
Read Article
Understanding the Basics of Vanilla Options Vanilla options, also known as plain vanilla options, are financial instruments that give the holder the …
Read Article
Understanding whether RSI is leading or lagging When it comes to technical analysis in the world of trading, one of the most popular indicators is the …
Read Article
How to Open a ZB Bank Account Opening a bank account is an important step towards financial stability and security. If you are considering opening a …
Read Article


